Our 2021 Garden Plan Reveal
It’s our 8th year growing a garden at our home and what a journey it has been. We didn’t start with raised beds, we have added square footage every year and have slowly built our berry patch over time. What I’m trying to get at is growing a producing garden doesn’t happen overnight. It takes time to plan, trial and error and it’s an investment! Create your ideal garden one step at a time. We hope we can share some of the knowledge we have learned over the years.
Want to know our 2021 garden layout & plan? Of course you do, that’s why you’re reading this. It’s the second year with our raised beds (we used to have a big soil patch and sow directly into the ground). Last year we learned a lot and this year we have an even better plan. I will list the steps we took to come up with this plan. Grab that coffee or tea and get reading!
1. First step is to get crafty and draw out your garden!
Whether it’s in your garden journal, on a large piece of paper or on a computer program, visually seeing your garden helps you plan. Mark down the sun direction and analyze which beds will be hotter and cooler. We like to mark our garden beds (or rows) with a number and/or name.
2. Pick what you want to grow.
We usually pick vegetables we eat a lot of, that we love to pick, that are easy to grow and have a few “fun” seeds each year like cucamelons. We also look at what month it should be planted, how much sun it needs and how long it takes to germinate. It’s also good to look into companion planting. This may give you ideas on what to plant and what does well together especially if you’re just starting out.
3. Organize Your Seeds.
We organize our seeds with the seasons. Victoria, B.C. is like the palm Springs of Canada, we truly get a Spring, Summer, Fall/Winter crop! We organize seeds into the three seasons. The goal is to have a continuous garden growing from April-November. We even have some kale and lettuce that grow all winter and we eat in February.
4. Index Cards (Or make notes on your garden plan if you have room!)
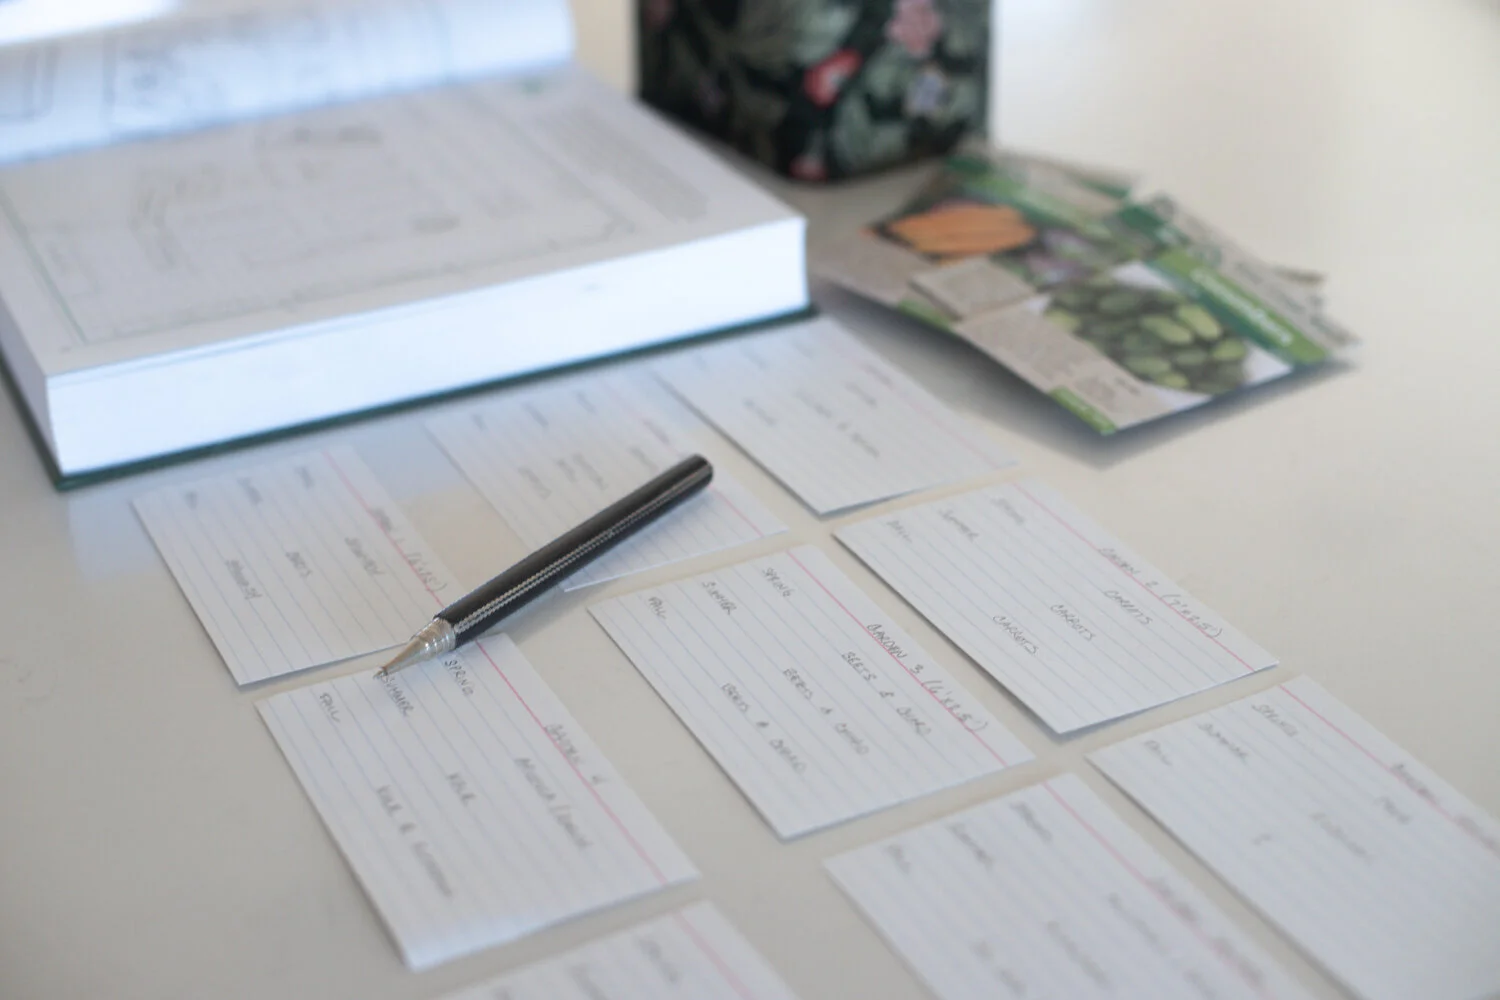
Each card will have a label or a number for that garden bed/row. Our garden is not a standard layout as we’ve added raised beds over the years so we have numbered each bed. Each index card will have a Spring, Summer & Fall vegetable marked down. How do we come up with the layout? It’s taken trial and error to know what beds certain vegetables do well in and remember your PH levels in your soil are very important.
5. Planning your Garden Beds/Rows
You will have to look into each vegetable and make sure that bed/row is right for it. Remember to look into what vegetables you can’t plant in the same spot over and over again like the Mustards or Cabbage Family. This incudes cabbage, some mixed lettuce, bok choy, broccoli and more. You will also want to see the height of the vegetables. For example there’s snap and shelling peas that can grow 3-8 feet tall! You don’t want to block the sunlight for something growing beside it.
Garden Layout
Below is a photo of our garden layout. We list what we are planting in each bed on the index cards. The direction of our drawing is Top (West), Right (North) Bottom (East) & Left (South). You’ll notice we have a blueberry patch, strawberries in raised beds, raspberries and blackberries which remain in the same spot each year. You’ll also see we have two garden beds named Window #1 and #2- these beds are against a fence and we have old windows attached that hang above creating a bit of a greenhouse affect for those beds. We may add plastic sheets we can drop down to keep the heat in this year.
#1 Window: (10 x 2.5ft) This is the hottest bed in our garden in the summer. Spring: lettuce (sow directly into the ground), Summer: cucumber/peppers (we will start some seeds indoors or buy some organic starters to have them big enough to transplant by July, Fall: lettuce (sow directly into the ground)
#2 Window: (8ft x 2.5ft) This is another hot bed! As it gets South and all the West sun. Spring: bush peas along the fence and radishes in front. Summer: tomatoes and basil (start indoors or purchase organic starters) Fall: carrots (sow directly into the ground)
Garden Bed #1: (6ft x 2.5 ft) Spring: spinach (seeds starters indoors or sow directly into ground), Summer: Beets (sow directly into the ground), Fall: Spinach (sow directly into the garden)
Garden Bed #2: (7ft x 2.5 feet) Spring/Summer/Fall: carrotts! We love carrots and we have rainbow carrots we often do in the summer and we have some orange and white ones we do in the Fall. Look for winter specific carrots as you can eat them all winter long. TIP when planting carrots: Plant 1/3 of the row first, another 1/3 three weeks later and another 1/3 three weeks later so you don’t have a million carrots at once! :)
Garden Bed #3 (6ft x 2.5ft) Spring/Summer/Fall: half the bed beets & the other half chard (sow directly into the ground)
Garden Bed #4 (7ft x 2.5 feet) Spring: arugula & radish (sow directly into garden), Summer: kale (organic starters or seeds indoors), Fall: kale & rutabaga (sow directly into garden)
Garden Bed Triangle: Spring: snap peas (starting from seed) Summer: zucchini & squashes (start seeds indoors or organic starters) Fall: radishes (sow directly into the ground)
Garden Bed Square: (5ft x 3.5 ft) Spring: half Mustards like mesclun lettuce mixes (sow directly into garden) & half radishes, Summer: kohlrabi (starter seeds indoors), Fall: sui choi/ pac choi (sow directly into the garden)
Garden Path: (10 x 2.5ft) Spring: snap peas (4 ft tall), Summer: beans (4 ft tall) Fall: kale & daikon (sow directly into garden or organic starters)
Far Right Bed: The bed to the far right of our drawing is about 1 ft x 1ft. Spring/Summer: shelling peas, they grow over 7 feet tall. We sow directly into the ground in Spring and then start from seed for the second crop by June and transplant to enjoy until August.
Follow @thepurposefulyou on Instagram to view the plan and follow our garden journey this year.
Thank you for reading!


